How to Change Oil and Filter on a Motorcycle
Regular oil and filter changes are a fundamental aspect of motorcycle maintenance. Engine oil lubricates moving parts, reduces friction, and helps dissipate heat. Over time, oil degrades and accumulates contaminants, which can affect engine performance. Replacing the oil and filter at recommended intervals supports consistent engine operation and may reduce wear on internal components. This guide outlines a methodical approach to performing this task, focusing on preparation, proper technique, and safe disposal of materials.
Before beginning, it is important to consult the owner’s manual for the specific motorcycle. Manufacturer recommendations for oil viscosity, capacity, and filter type vary between models. Working in a well-ventilated area with a stable, level surface is advisable. The engine should be warm but not hot, as warm oil drains more completely and carries suspended particles away from critical surfaces. Having the correct tools and supplies on hand helps ensure a smooth process.
The following steps describe a general procedure that applies to many motorcycles, but variations in hardware and access may exist. Adjustments should be made based on the specific configuration of the machine. Safety precautions, such as using gloves and eye protection, are recommended when handling oil and working near hot components.
Preparing Tools and Materials
Assembling the necessary items before starting can prevent interruptions and reduce the risk of mistakes. A typical oil change requires a fresh supply of engine oil that meets the specifications in the owner’s manual, a new oil filter, a drain pan with sufficient capacity, a socket or wrench to fit the drain plug, and a filter wrench if the filter is tightly installed. Additionally, a funnel, rags or paper towels, and nitrile gloves are useful for cleanliness and safety.
Selecting the correct oil filter is essential. Many aftermarket and original equipment filters are available, and they should match the thread size, sealing ring diameter, and bypass valve specifications of the motorcycle. Pre-lubricating the gasket of the new filter with a small amount of fresh oil helps create a proper seal during installation. For the drain plug, a new crush washer is often recommended to prevent leaks. Checking the condition of the washer before reuse is prudent.
Preparing the workspace involves positioning the motorcycle upright on its center stand or a paddock stand. If a center stand is not available, using a rear stand or ensuring the bike is stable on its side stand while the drain plug is accessible is acceptable. The drain pan should be placed directly under the engine’s drain plug, and it may be helpful to place cardboard or a drop cloth beneath the pan to catch any drips.
Draining the Old Oil
With the engine warm, locate the drain plug on the bottom of the crankcase. The plug is typically a bolt with a magnetic tip on some models, attracting metal particles. Using the correct socket or wrench, loosen the plug slowly. Before removing it completely, position the drain pan directly below. Then remove the plug by hand, allowing the oil to flow into the pan. Care should be taken to avoid contact with hot oil.
While the oil drains, inspect the drain plug for metal debris or excessive wear. A small amount of fine metallic dust is normal, but larger particles may indicate internal issues that warrant further investigation. Wipe the plug clean and install a new crush washer if one is included. Allow the oil to drain completely, which may take several minutes. Tilting the motorcycle slightly by leaning it away from the drain hole can help extract residual oil, but this should be done cautiously and only if the motorcycle is securely supported.
After the flow reduces to a drip, reinstall the drain plug. Tighten it by hand first to avoid cross-threading, then torque to the specification listed in the manual. If a torque wrench is not available, a snug fit with a short wrench is acceptable, but over-tightening can damage the threads or crush washer. Wipe away any oil drips from the area.
Replacing the Oil Filter
The oil filter location varies by motorcycle. It may be mounted on the side of the crankcase, near the exhaust, or in a remote housing. Consult the manual to locate it. Using a filter wrench or a strap wrench, loosen the old filter. If the filter is difficult to reach, specialized tools such as a cup-style wrench or a flexible clamp may be required. Turn the filter counterclockwise to remove it, allowing residual oil to drain into the pan.
Before installing the new filter, compare it with the old one to ensure the threads, diameter, and gasket size match. Apply a thin layer of fresh oil to the rubber gasket of the new filter. This lubricates the seal during tightening and reduces the risk of the gasket sticking or tearing. Screw the new filter onto the mounting stud by hand until the gasket contacts the sealing surface. Then tighten it an additional three-quarters to a full turn as indicated by the filter manufacturer. Over-tightening can distort the gasket and cause leaks.
Wipe off any oil that may have spilled on the engine case or frame during removal and installation. Inspect the area around the filter mounting for debris or old gasket material that could prevent a proper seal.
After the filter and drain plug are secure, the next step is refilling the engine with fresh oil.
Refilling with Fresh Oil
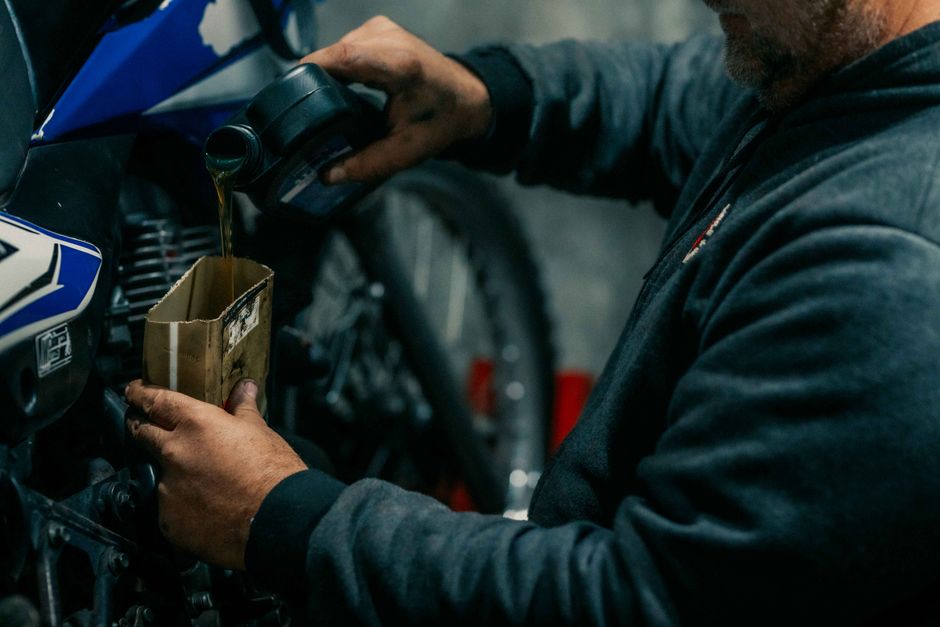
Consult the owner’s manual for the correct oil viscosity and capacity. Using the recommended grade supports proper lubrication across the operating temperature range. Place a funnel into the oil fill hole, typically located on the top of the engine near the cylinder head or valve cover. Pour the oil slowly to avoid splashing and to allow air to escape. Add the specified amount, but it is common to pour slightly less than the full capacity initially, then top off after checking the level.
Once the oil is added, replace the oil fill cap securely. Start the engine and let it idle for about one minute. This circulates the new oil and fills the new filter. Observe the area around the drain plug and filter for any signs of leakage. If leaks are detected, shut off the engine immediately and address the source by tightening or reseating the component.
Turn off the engine and wait a few minutes for the oil to settle into the crankcase. Then check the oil level using the dipstick or sight glass, following the procedure described in the manual. The level should be between the minimum and maximum marks. If it is low, add small increments of oil and recheck. Overfilling can cause foaming and increased pressure, which may harm seals and gaskets.
Final Checks and Disposal
After confirming the oil level is correct, start the engine again and listen for unusual noises. A properly performed oil change should result in smooth operation. Check the oil pressure indicator if equipped; it should go out shortly after starting. Ride the motorcycle briefly and then recheck for leaks at the drain plug and filter. Retighten if necessary, but avoid excessive force.
Dispose of the used oil and filter responsibly. Many auto parts stores and service stations accept used oil for recycling. The old filter should be drained of residual oil and placed in a sealed plastic bag before disposal according to local regulations. Never pour used oil into the ground, storm drains, or household trash.
Recording the mileage and date of the oil change in a maintenance log can help track intervals and anticipate future service. Keeping notes on the type and brand of oil used may also be useful for consistency. Regular oil and filter changes, performed carefully, are a straightforward way to support the longevity and reliability of a motorcycle engine.